Showing posts with label Khorne Daemonkin. Show all posts

Khorne Tower of Skulls


I found in an older Apocalypse book a model that is no longer sold so I decided to make one of my own. A while back I bought a fortress with a lot of walls and towers. I took one of the towers, drilled a big hole in it, inserted a plastic pipe and added a gun head from a Lord of Skulls. On the sides I added Ectoplasma Cannons from a Forgefiend. From Miliput I made some Chaos symbols, using a rolling pin from greenstuffworld, and glued them to the tower.

Soulgrinder


After one year of waiting, games workshop finally had the Soul Grinder in stock and I manged to get one.
I primed the model with white primer.

Bloodcrushers


After 2 years I finally painted 2 squads of Bloodcrushers.
 When I assembled the models, I sprayed the Juggernaut with black and the Bloodletter with carmine red.

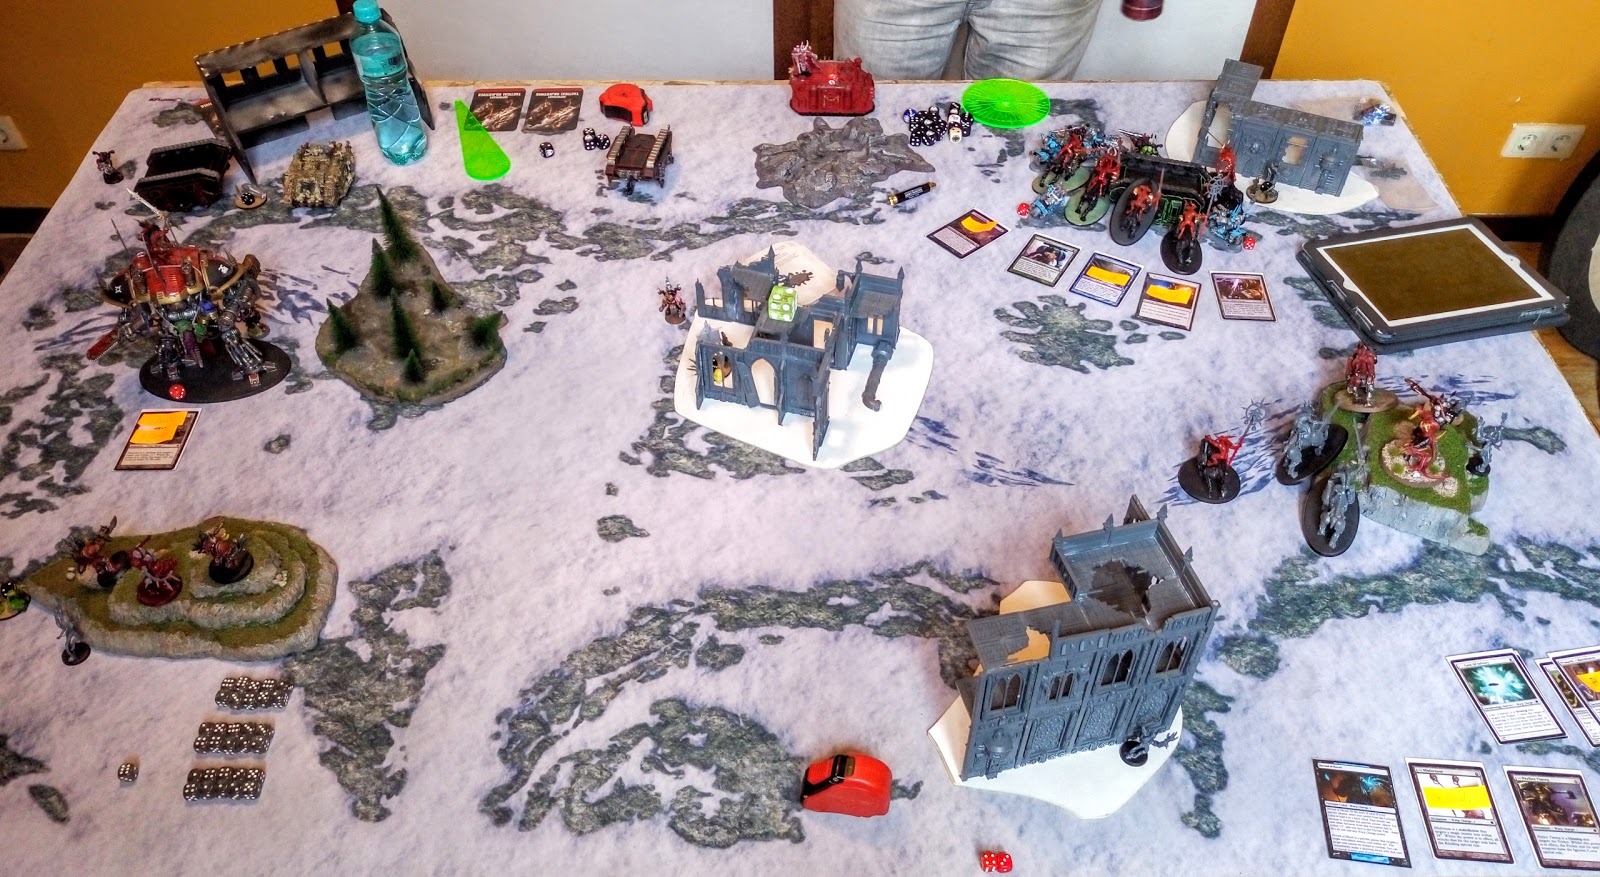
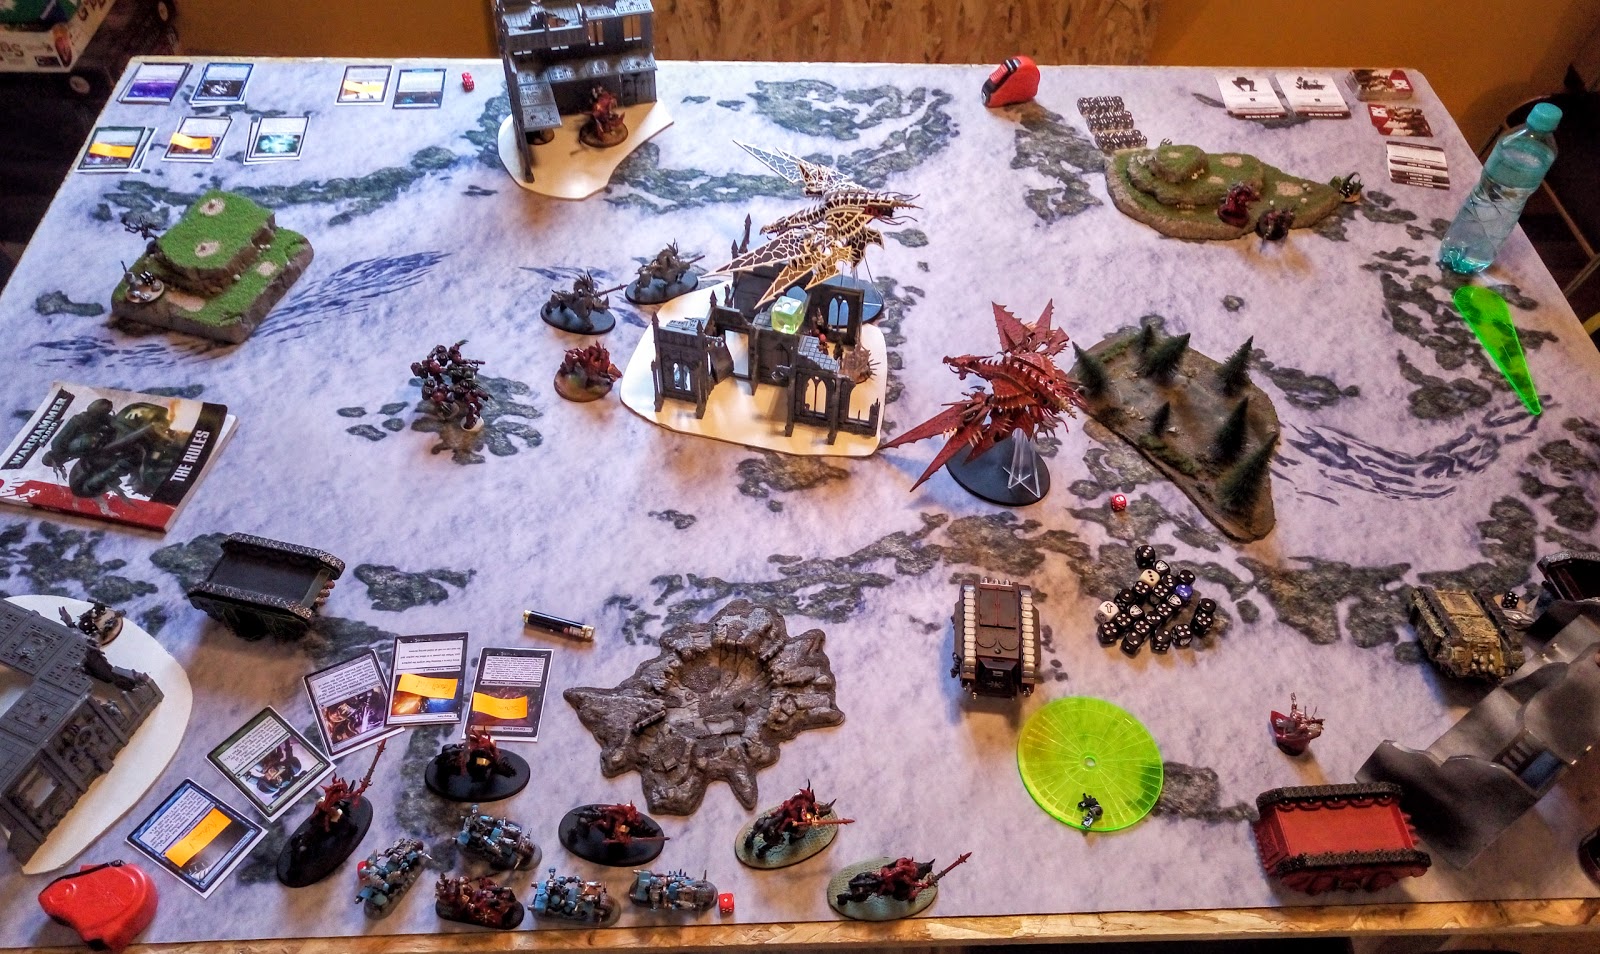
Khorne vs Nurgle


Mission : Maelstorm of War - Cloak and Shadows
Deployment: Dawn of War
Points limit: 1850
Lists:
Khorne Daemonkin:
Formation Detachment:

  •  Brazen Onslaught
    • 5-man Bloodcrushers, Upgrade one Bloodcrusher to Bloodhunter
    • 4-man Bloodcrushers, Upgrade one Bloodcrusher to Bloodhunter
    • 3-man Chaos Terminators equipped with 3 x Combi-Melda, 2 x Power Axe, Power Sword
  • Cyclopia Cabal
    • 5 x Sorcerer equipped with 2x Additional Mastery Level, Bike, Bolt Pistol, Force Axe, Power Armour, Spell familiar, Veterans of the Long War, 4 x Melta Bombs
  • Chaos Forsworn Knight Detachment
    •  Renegade Knight equipped with 2 x Avenger Gatling Cannon and Heavy Flamer, Heavy Stubber
  • Heralds Anarchic
    • 3 x Herald of Tzeentch

Chaos Space Marines:
Death Guard Vectorium:
  • Lord of the Legion
    •  Daemon Prince equipped with Power armor, Veterans of the Long War, Daemon of Nurgle, The Black Mace, Spell familiar, Mastery level 3, Wings
  • Chaos Warband
    • Chaos Lord equipped with Mark of Nurgle, Power armour, Burning Brand of Skalathrax, Close combat weapon, Veterans of the Long War
    • 6-man Chosen equipped with 5 x Plasma guns ridding in a Rhino
    • 2 x 5-man Chaos Space Marines equipped with a Plasma gun in Rhinos
    • 5-man Raptors equipped with 2 x Meltagun and a Combi-Melta
    • 5-man Havoks equipped with 4 x Autocannon inside a Rhino
    • 5-man Havoks equipped with 4 x Lascannon ridding in a Rhino
  • Heldrake Terror Pack
    • 2 x Heldrake with Baleflamer

The Deployment:
Heldrakes and Raptors in reserves. Havoks stay out of their Rhinos.

Khorne Daemonkin Turn 1:
Cabal star advances and goes invisible but suffers 2 wounds from Perils of the Warp. Knight the two Rhinos with Chaos Space Marines.

Chaos Space Marines Turn 1:
Marines get closer to the Knight, shoot their plasma guns but they can't penetrate the armor. Both Havoks squads shoot at the Knight and manage to get 2 hull points off. Daemon Prince flies next to the Bloodcrushers and manifests Plague wind but doesn't wound.

Khorne Daemonkin Turn 2:
Bloodcrushers wait for the Daemon Prince to land, he was to suspicious. Knight manages to kill 4 Marines and 4 Havoks in the shooting phase, looses 2 hull points in overwatch from a plasma gun, looses another hull point from a melta bomb, then stomps the champion and another marine. Cabal star takes control of the Lascannon havoks but fails to penetrate the Warlords Rhino. They manage to assault the Rhino and the Havoks. They wreck the Rhino and kill 2 Havoks.


Chaos Space Marines Turn 2:
One Heldrake comes into play and kills a Herald. Daemon Prince vector strikes the other Herald and kills him. Knight kills the remaining Marines. Cabal star kills the remaining Havoks.

Khorne Daemonkin Turn 3:
Knight pops the empty Rhino in front of him and the one of the warlord. Cabal star gets closer to the Chosen and the Bloodcrushers go for the remaining Marine in the middle of the table. Terminators manage to hit the Heldrake with melta but they don't hurt it.

Chaos Space Marines Turn 3:
Second Heldrake comes on and with the help of his brother they manage to kill a Bloodcrusher. One terminator dies from Vector Strike. Raptors also come on and shoot at the Bloodcrushers but failed to wound. Chosen kill the Knight but he falls on top of them leaving only the warlord alive. Daemon Prince changes flight mode and takes the objective in the building.

Khorne Daemonkin Turn 4:
Cabal star kill the enemy warlord. Bloodcrushers assault the Raptors and kill 4 of them.


Chaos Space Marines Turn 4:
Daemon Prince goes for the Bloodcrushers and takes a wound from the Black Mace. Bloodcrushers manage to kill the last Raptor.
(forgot to take photo)

Khorne Daemonkin Turn 5: 
I was going to summon a Skull Cannon but we fast forward the game and didn't put it on the table. Cabal Star kills the last Havok. Bloodcrusers get smashed by the Daemon Prince.


Chaos Space Marines Turn 5: Daemon Prince goes for an objective. The same does the red Heldrake and the game ends.


Final score Khorne Daemonkin 9 - 5 Death Guard.
The Cabal star is strong, I like it a lot more than the one with Flesh Hounds.
It felt good to squash Levi since the last 3 games he obliterated me in the first 3 turns. He just doesn't know how to roll lower than 5 or 6.


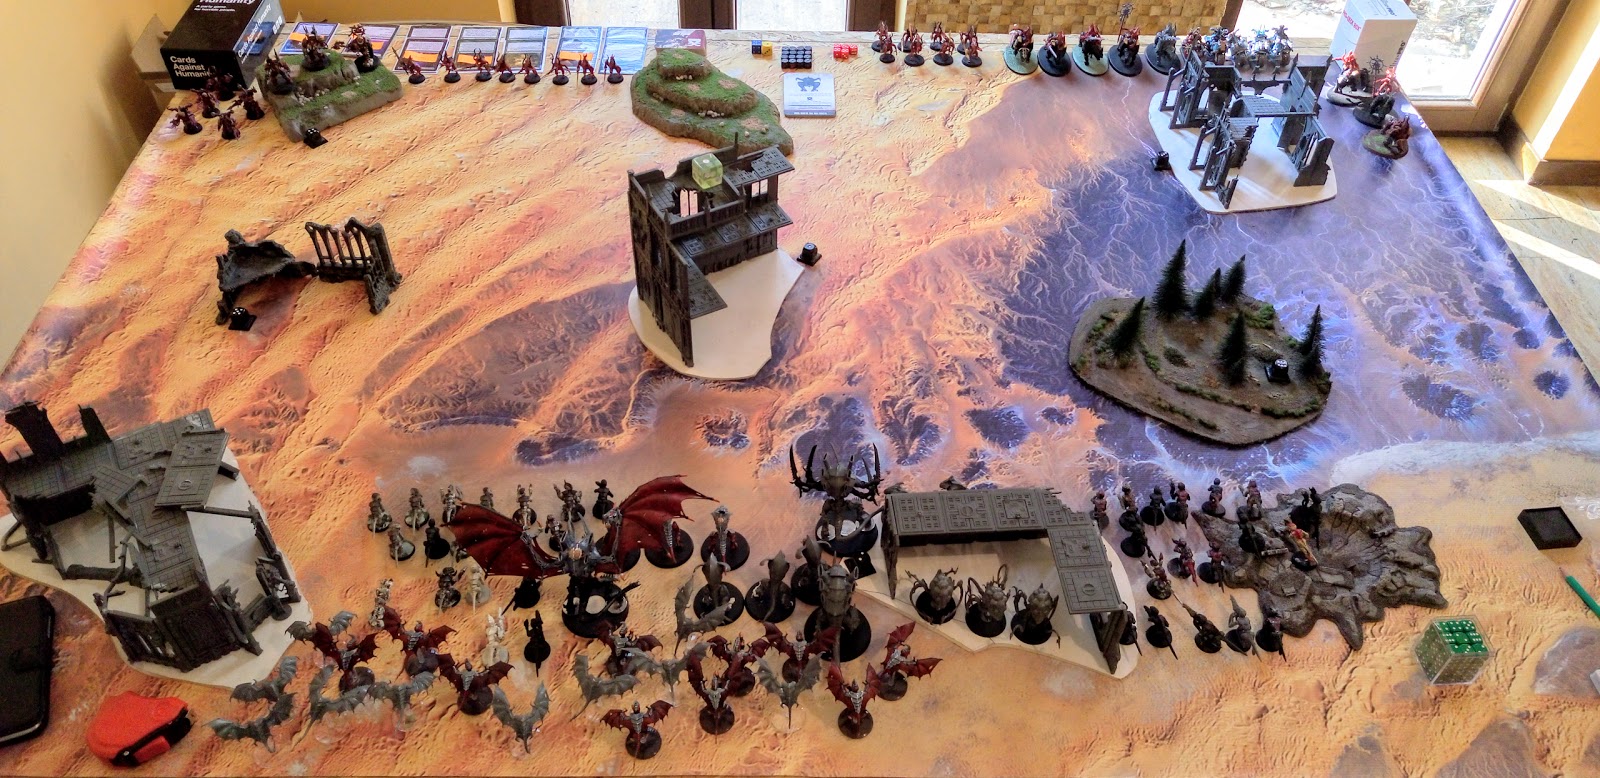
Chaos and Orks vs Tyranids and Astra Militarum

My wife and I join forces to battle some friends. She made me proud!

Mission : Maelstorm of War - Spoils of War
Deployment: Hammer and Anvil
Points limit: 2000
Lists:

Khorne Daemonkin:
Formation Detachment:
  •  Heralds Anarchic
    • 5 x Herald of Tzeentch, Psyker Level 1, 1 x Paradox
Unbound Army
  •  Khorne Tower of Skulls

Orks:
Combined Arms Detachment:
  • Big Mek equipped with 'Eavy Armour, 3x Ammo Runt, Bosspole, Choppa, Gitfinda, Shokk Attack Gun
  • Painboy equipped with Bosspole, Warlord
  • 12-man Burna Boyz riding in a Trukk
  • 10-man Boyz
  • 10-man Gretchin with Runtherd
  • 2 x 4-man Deffkoptas equipped with Twin-linked Rokkit Launcha
  • 15-man Lootas
  • Aegis Defense Line with Ammunition Dump

Astra Militarum:
Combined Arms Detachment:
  •  Tank Commander
    •  Battle Tank equipped with Battle Cannon, Camo Netting, Heavy Bolter
    •  Command Punisher equipped with Camo Netting, Lascannon, Turret-mounted Punisher Gatling Cannon
    • Tank Commander
  • 2 x 10-man Veterans equipped with Grenadier, 3 x Meltagun ridding in Chimera
  • Vendetta equipped with 3 x  Twin-linked Lascannon
  • 2 x Wyvern

Tyranids:
Combined Arms Detachment:
  • Hive Tyrant equipped with Desiccator Larvae, Powers of the Hive Mind, Psyker (Mastery Level 2), 2 x Twin-linked Devourer with Brainleech Worms, Wings
  • Malanthrope 
  • Zoanthrope Brood
    •  Neurothrope 
    • 2 x  Zoanthrope 
  • 2 x 11-man Termagant 
  • 3-man Biovore 
  • Carnifex equipped with 2 x Twin-linked Devourer with Brainleech Worms
  • Mawloc
Deployment:
Heralds and Lootas stand behind the Aegis defense line. Mawloc and Vendetta in reserves.

Chaos Orks Turn 1:
Tower of Skulls, Trukk and Deffkoptas advance the battlefield. Heralds cast Prescience on Lootas and Tower of Skulls but one suffers Perils of the warp and looses a wound. Lootas mange to exterminate the Zoanthrope Brood. The Tower manages to kill some Termagants, get 2 wounds of a Biovore and one wound on the Hive Tyrant.

Militarum Tyranids Turn 1:
Hive Tyrant takes to the skies and wrecks the Trukk. One Chimera cannot move due to a failed One eye open test. The other does a wound to one of the Deffkoptas.The Punisher kills one of the Deffkoptas on the right and the Battle Tank kills a couple of Boyz, which fail their moral and start to run back. Biovores manage to kill 3 Lootas. Wyverns shoot at the Heralds but they manage to survive.

Chaos Orks Turn 2:
Deffkoptas move closer to the Chimera and get of a hull point and shakes the crew. The other Deffkoptas tried to get in range of the Wyverns so they turbo-boosted over the tank squad. Tower of Skulls took out the Carnifex. Lootas get blessed with prescience and get 2 wounds on the Hive Tyrant which looses his balance and falls flat on his face and guts splattered all across the battlefield.
(forgot to take photo)

Militarum Tyranids Turn 2:
Vendetta flies over the field shoots at the Tower and fails to get the target. All Veterans from the Chimeras shoot their meltaguns but they also fail to penetrate the thick armor. A Mawloc appears from the ground and swallows a couple of Lootas, then it returns to the deeps since he mishaps. Wyverns and Batle Tank manage to kill all the Lootas, some Boyz, the Painboy and the Big Mek. Biovores flatten some of the Burnas. Pask kills 2 jinking Deffkoptas.

Chaos Orks Turn 3:
Tower of Skulls Thunderblitzed the Chimera but got only a hull point off. Deffkoptas get the job done for the Tower and wreck the tank and assaults the troops inside, killing a couple of them but their boiling blood won't let them flee the battle. Boyz regroup and move over the defense line to hold the objective. Burnas grab the objective in the middle. The other Deffkopta get 2 hull points of one of the Wyverns.

Militarum Tyranids Turn 3:
The Mawloc appears again and engulfs 3 Deffkoptas and a Veteran. It mishaps again but we get to place him. Veterans disembark and shoot at the Tower but their bullets have no penetration. Pask and the Battle Tank shoot at the Tower but the thing just would not die. Biovores and Wyverns manage to kill a Herald. Vendetta flied of the table. Termagants fail the charge on the Deffkopta. Veterans kill the Deffkopta in combat. (I took the photo before the combat)

Chaos Orks Turn 4:
Tower of Skulls kills one squad of Veterans, kills a few from the other and get 2 wounds on the Mawloc. Deffkopta wrecks the Wyvern.

Militarum Tyranids Turn 4:
Mawloc rolls a 1 on the One eye open, the wretched beast cannot do anything. Pask, Battle Tank, Veterans and Vendetta get 3 hull points of the Tower of Skulls. Termagants assault the Deffkoptaand get a hull point.

A this point our guests had to leave so we ended the game. The first 2 turns we did well, but from that point forward we got pounded really bad. Final score was Chaos Orks 11 - 5 Militarum Tyranids.

Khorne Daemonkin vs Necron

Mission : Maelstorm of War - Cleanse and Control
Deployment: Dawn of War
Points limit: 1600
Lists:
Khorne Daemonkin:
Bloodhost Detachment:

  • Salughtercult
    • Herald mounted on a Juggarnaut of Khorne
    • 5-man Possessed
    • Bloodletter with Bloodreaper upgrade
    • 8-man Bloodletter with Bloodreaper upgrade with and Instrument
  •  Brazen Onslaught
    • 4-man Bloodcrushers, Upgrade one Bloodcrusher to Bloodhunter
    • 3-man Bloodcrushers, Upgrade one Bloodcrusher to Bloodhunter
    • 3-man Chaos Terminators equipped with 3 x Combi-Melda, 2 x Power Axe, Power Sword
Formation Detachment:
  • Cyclopia Cabal
    •  5 x Sorcerer equipped with 2x Additional Mastery Level, Bike, Bolt Pistol, Force Axe, Power Armour, Spell familiar, Veterans of the Long War
Necrons:
Decurion Detachment:
  • Reclamation Legion
    • Overlord equipped with The Veil of Darkness, Gauntlet of Fire, Phase Shifter, Warscythe
    • 10-man Immortals
    • 10-man Lychguard equipped with Hyperphase Sword & Dispersion Shield in a Night Scythe
    • 2 x 10-man Warriros in Ghost Ark
    • 3-man Tomb Blades equipped with Nebuloscope, Shield Vanes, Twin-linked Gauss Blaster
  • Canoptek Harvest
    • Canoptek Spider
    • 3-man Canoptek Wraiths
    • 3-man Canoptek Scarabs
  • Dethmarks
    • 5-man Deathmarks
The Deployment:
 Deathmarks, Overlord is attached to Lychguard in Night Scythe are in reserves. Terminators and the squad of Bloodletters with Instrument are in reserves.

Necrons Turn 1:
Most models advanced shot at what was in range and managed to kill a Possessed and 3 Bloodletters. Spider spawned scarabs every turn.

Khorne Daemonkin Turn 1:
Bloodcrushers advanced and got in combat with the Wraiths. 1 Bloodcrusher dies and Wraiths get a wound. Cyclopia Cabal take control of the Immortals and get 3 hull points off the Ghost Ark. I also managed to get Cursed Earth and Warp Fate so I had 4++ re-roll-able or 3+ re-roll-able.

Necrons Turn 2:
Double 1's for reserves rolls. Army advances towards my table edge and they kill 3 more Possessed and some Bloodletters leaving only one model in both squads. Bloodcrushers get assaulted by the Scarabs and they get hammered by the amount of attacks.

Khorne Daemonkin Turn 2:
Double 1's for reserves rolls. Bloodletter and Possessed hide deep in the buildings. Cabal star advances, takes control of the Immortals, they shoot at the Warriors. Every single save was passed (Nandor being a true Necron). Cabal star doesn't make tha charge on the Immortals.

Necrons Turn 3:
Bothe reserves come to play. Deathmarks mishap and I place them in the right corner. Overlord and his squad disembark in front of the Cabal star. Night Scythe, Immortals and Warriors manage to kill a Bloodcrusher and get a wound on another.

Khorne Daemonkin Turn 3:
Both reserves want to join the battle but the terminators lost their way and got back in reserves. Immortals do not recognize Lychguardand shoot at them, killing one. Cabal get buffed and Lychguard get enfabled then assaulted. Only the Overlord remains alive with only one wound remaining.

Necrons Turn 4:
Overlord flees the battle, but Wraiths and Scarabs take his place. Wraiths die and also a part of  the Scarabs. Warriors disembark and with the help of the Ghost Ark kill all the Bloodletters. Tomb Blades kill the last Possessed model.

Khorne Daemonkin Turn 4:
Terminators deep strike near the Overlord shoot the meltas but no wounds. I summon a Skull Cannon and manage to kill with it 1 Necron Warriors. Cabal star manages to kill all the Scarab.

Necrons Turn 5:
Tomb Blades, Warriors and Ghost Ark shot down the terminators. Night Scythe flew of the table. Immortals, Warriors and Deathmarks kill 2 Bloodcrushers and get a few wounds on the Sorcerers.

Khorne Daemonkin Turn 5: 
Cabal star gets close to the Immortals, assaults them and kills them. Skull Cannon shoots at the Warriors but no wounds.

Necrons Turn 6:
We were having so much fun that we didn't even realized that in turn 2 we didn't change the turn dice, so here is a free turn 6. Night Scythe comes back on the table and does a hull point on the Skull Cannon. Necron Warriors and Deathmarks kill a Sorcerer.

Khorne Daemonkin Turn 6:
A new squad of Bloodcrushers is summoned. Cabal use the warriors to wreck the Ghost Ark. Skull Cannon and Cabal star assault the Warriors and Deathmarks and manage to slaughter them all.

Game end. Final score: Khorne Daemonkin 8-6 Necrons
Awesome game. Khorne was very happy. Incredible dice rolling from Nandor, but Cyclopia Cabal joined to a squad of Bloodcrushers is very strong.

Khorne Daemonkin vs Tyranids

Mission : Maelstorm of War - Cloak and Shadows
Deployment: Dawn of War
Points limit: 1600
Lists:
Khorne Daemonkin:
Bloodhost Detachment:

  • Salughtercult
    • Herald equipped with Collar of Khorne mounted on a Juggarnaut of Khorne
    • 5-man Possessed
    • 2 x 8-man Bloodletter with Bloodreaper upgrade
  •  Brazen Onslaught
    • 4-man Bloodcrushers, Upgrade one Bloodcrusher to Bloodhunter
    • 3-man Bloodcrushers, Upgrade one Bloodcrusher to Bloodhunter
    • 3-man Chaos Terminators equipped with 2 x Combi-Melda, 2 x Power Axe, Power Sword
Formation Detachment:
  • Cyclopia Cabal
    •  5 x Sorcerer equipped with 2x Additional Mastery Level, Bike, Bolt Pistol, Force Axe, Power Armour, Spell familiar, Veterans of the Long War
Tyranids: (a more detailed list to come)
Formation Detachment:
  • Skytyrant Swarm
    •  2 x 10-man Gargoyles equipped with Blinding Venom, Fleshborer
    • Hive Tyrant equipped with Adrenal Glands, Powers of the Hive Mind, Psyker (Mastery Level 2), Scything Talons, The Reaper
      of Obliterax, Wings
Combined Arms Detachment:
  • 3-man Tyrant Guard with Rending Claws, Scything Talons
  • The Swarmlord
  • 3-man Venomthrope equipped with Lashwhips, Toxic Miasma
  • 2 x 3-man Hive Guard equipped with Impaler Cannon
  • 2 x 18-man Termagant equipped with 13 x Fleshborer and 5 x Devourer
  • Carnifex equipped with Crushing Claws, Scything Talons
The Deployment:


Tyranids Turn 1:
All models moved forward and ran since nothing was in range.

Khorne Daemonkin Turn 1:
The Bloodletters and Possessed moved over the piece o terrain so they get to hit first if they are charged. Cyclopia Cabal managed to kill a Hive Guard but suffered 2 Perils of the Warp and lost 2 wounds. Bloodcrushers on the left charged the Termagant and killed a couple of them.

Tyranids Turn 2:
Again all models moved up. The Hive Guards managed to kill a couple of Bloodletters and the Gargoyles killed a Possessed. Flyrant and Gargoyles did not assault in order to get an objective. Bloodcrushers manage to kill al the 'gaunts.

Khorne Daemonkin Turn 2:
The Cyclopia Cabal, Herald and Bloodcrushers star moved towards the Swarmlord, take control of the Hive Guards and manage to kill another model from the other unit of Guards. Cabal star assaults, losses 2 Bloodcrushers but kills the Swarmlord and his unit. The other squad of Bloodcrushers kills the Hive Guards but they also suffer a casualty. Bloodletters, Possessed and Terminators assault the Flyrant and manage to kill all the Gargoyles.

Tyranids Turn 3:
Carnifex assaults the Cabal star and die. Venomthropes assault the single Bloodcrusher and die. Termagant assault and manage to kill a big bunch of Bloodletters. Hive Tyrant remains with only one wound.

Khorne Daemonkin Turn 3:
I sacrifice the Terminator Champion to get a Bloodthirster. Cabal star kills the Hive Tyrants in the building in the middle. Flyrant finally dies after a million successful Feel no Pains. Opponent is left with only a squad of Termagant and concedes.